
Solar panels convert sunlight into electricity, but their true potential is unlocked when multiple panels are linked together. The two primary methods—series and parallel—affect voltage, current, and overall efficiency differently. Connecting panels in series increases voltage while keeping current constant, ideal for longer cable runs and higher-voltage systems. In contrast, parallel connections boost current while maintaining voltage, which is great for shading-prone areas or lower-voltage applications.
But why does this matter? Improper wiring can lead to reduced energy production, overheated components, or even safety hazards like electrical fires. According to industry experts, mismatched connections are a common culprit behind underperforming solar setups. In this comprehensive guide, we’ll break down everything you need to know: from basic concepts to advanced configurations, complete with diagrams, charts, tables, and real-world examples.
We’ll cover:
- The fundamentals of series and parallel wiring.
- Step-by-step tutorials with visuals.
- Pros, cons, and when to choose each method.
- Hybrid series-parallel setups for balanced performance.
- Safety precautions and common pitfalls.
- An FAQ section to address your burning questions.
By the end, you’ll be equipped to design a solar array that suits your needs, potentially saving thousands on energy bills while reducing your carbon footprint. Let’s dive in and harness the power of the sun!
Understanding Solar Panel Basics
Before we get into connections, let’s refresh on how solar panels work. Each panel consists of photovoltaic (PV) cells that generate direct current (DC) electricity from sunlight. Key specs include:
- Voltage (V): Typically 12V, 24V, or higher for residential panels.
- Current (A): Measured in amps, indicating power flow.
- Power (W): Watts = Volts x Amps.
When connecting multiple panels, you’re essentially combining these outputs. Series wiring adds voltages, parallel adds currents, and combinations offer flexibility.
What is Series Connection?
In a series connection, solar panels are wired end-to-end, like links in a chain. The positive terminal of one panel connects to the negative of the next, creating a single path for current flow.
How Series Connection Works
Imagine you have two 12V panels, each producing 5A. In series:
- Total voltage: 12V + 12V = 24V
- Total current: Remains 5A
- Total power: 24V x 5A = 120W (same as individual totals combined)
This setup is common in systems requiring higher voltage, such as those with MPPT charge controllers that optimize for grid-tie inverters or battery banks.
Step-by-Step Guide to Connecting Solar Panels in Series
- Gather Materials: Solar panels, MC4 connectors, extension cables, multimeter.
- Identify Terminals: Each panel has a positive (+) and negative (-) output.
- Connect Panels: Attach the positive MC4 from the first panel to the negative MC4 of the second.
- Chain Them: Repeat for additional panels.
- Test: Use a multimeter to verify voltage adds up while current stays the same.
- Connect to System: Wire the final positive and negative to your charge controller or inverter.

This diagram shows the straightforward wiring for series connections.
Pros and Cons of Series Wiring
Pros:
- Higher voltage reduces power loss over long cables (lower current means thinner wires).
- Simpler for high-voltage systems.
- Cost-effective for large arrays.
Cons:
- If one panel is shaded, the entire string’s output drops (bypass diodes help mitigate this).
- Voltage can become too high for some controllers.
- Less flexible in mismatched panel setups.
What is Parallel Connection?
Parallel wiring involves connecting all positive terminals together and all negative terminals together, allowing multiple paths for current.
How Parallel Connection Works
Using the same two 12V, 5A panels:
- Total voltage: Remains 12V
- Total current: 5A + 5A = 10A
- Total power: 12V x 10A = 120W
This is perfect for maintaining lower voltage while increasing amperage, common in 12V systems like RVs or boats.
Step-by-Step Guide to Connecting Solar Panels in Parallel
- Prepare Tools: Same as series, plus branch connectors (Y-connectors).
- Link Positives: Use a branch connector to join all positive terminals.
- Link Negatives: Do the same for negatives.
- Secure Connections: Ensure tight fits to avoid arcing.
- Verify: Multimeter should show added current, same voltage.
- Integrate: Connect to your system via a combiner box for safety.

Refer to this visual for parallel setup clarity.
Pros and Cons of Parallel Wiring
Pros:
- Better performance in partial shading (one shaded panel doesn’t affect others as much).
- Maintains system voltage, easier for 12V batteries.
- Allows mixing panels with similar voltages.
Cons:
- Higher current requires thicker cables to prevent losses.
- More complex wiring with branch connectors.
- Potential for uneven current if panels aren’t matched.
Series vs Parallel: A Detailed Comparison
To help you decide, here’s a side-by-side comparison:
| Aspect | Series Connection | Parallel Connection |
|---|---|---|
| Voltage | Increases (adds up) | Stays the same |
| Current | Stays the same | Increases (adds up) |
| Power Loss | Lower over distance | Higher if cables are long |
| Shading Impact | High (affects whole string) | Low (isolated to one panel) |
| Wiring Complexity | Simple chain | Requires combiners |
| Best For | High-voltage systems, long runs | Low-voltage, shaded areas |
This table summarizes key differences based on expert insights.
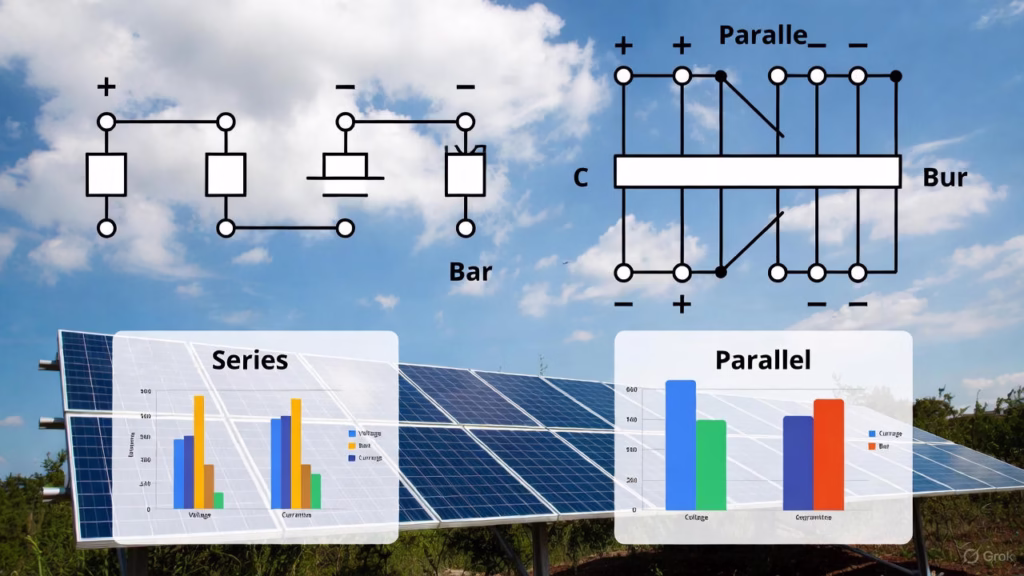
Voltage and Current Charts
Visualizing the differences helps. Here’s a chart depicting how voltage and current change:

In series, voltage stacks; in parallel, current multiplies.
When to Use Series, Parallel, or Both
- Use Series: For grid-tied systems or when minimizing cable costs.
- Use Parallel: In off-grid setups with shading or for 12V compatibility.
- Series-Parallel Hybrid: Combine for balance, e.g., two strings of series panels wired in parallel.
Example: Four 12V/5A panels in 2s2p (two series strings in parallel) yield 24V/10A.

Safety Tips for Wiring Solar Panels
Always prioritize safety:
- Disconnect batteries first.
- Use rated connectors (MC4).
- Install fuses or breakers.
- Wear protective gear.
- Consult local codes.
Common mistakes include mismatched panels or ignoring polarity, leading to damage.
For a quick overview:

Real-World Examples and Calculations
Suppose you have three 100W panels (18V/5.56A each).
- Series: 54V/5.56A = 300W
- Parallel: 18V/16.68A = 300W
Calculate wire size using voltage drop formulas: Drop = (Current x Length x Resistance)/Voltage.
For series (higher V), smaller gauge wire suffices.
In a 2025 context, with bifacial panels gaining traction, series might optimize for MPPT efficiency.
Advanced Considerations for 2026
With smart inverters and AI-optimized charge controllers, hybrid setups are trending. Ensure panels have similar specs to avoid imbalances.
Conclusion
Connecting solar panels in series or parallel is a foundational skill for any solar project. By understanding these methods, you can tailor your system for efficiency, cost savings, and reliability. Whether boosting voltage for long-distance transmission or amping up current for robust output, the right configuration powers a brighter future.
Ready to go solar? Start with a site assessment and quality components. Share your experiences in the comments!
FAQ
What happens if I mix series and parallel connections?
You can, but ensure voltages match across parallel strings to prevent current backflow. Use blocking diodes if needed.
Can I connect different sized solar panels?
In series, no—currents must match. In parallel, voltages should be similar; otherwise, efficiency drops.
How many solar panels can I connect in series?
Depends on your charge controller’s max input voltage. Typically 3-5 for 12V systems.
Is series or parallel better for battery charging?
Parallel for 12V batteries; series for 24V+ to reduce charging time.
What tools do I need for wiring?
MC4 connectors, crimpers, multimeter, and safety gear.